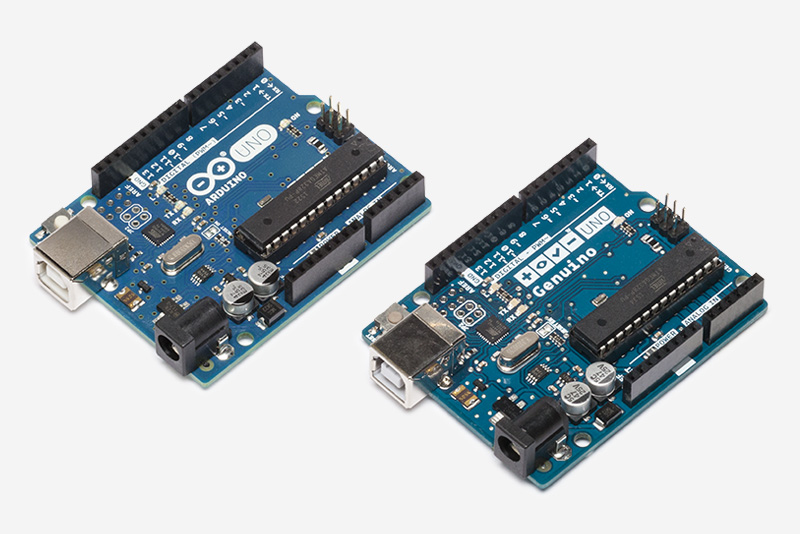
Use your Arduino/Genuino Uno on the Arduino Desktop IDE
If you want to program your Arduino/Genuino Uno while offline you need to install the Arduino Desktop IDE The Uno is programmed using the Arduino Software (IDE), our Integrated Development Environment common to all our boards. Before you can move on, you must have installed the Arduino Software (IDE) on your PC..
Connect your Uno board with an A B USB cable; sometimes this cable is called a USB printer cable
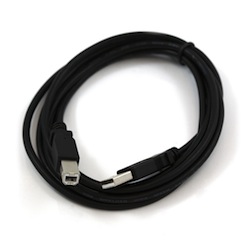
The USB connection with the PC is necessary to program the board and not just to power it up. The Uno automatically draw power from either the USB or an external power supply. Connect the board to your computer using the USB cable. The green power LED (labelled PWR) should go on.
Install the board drivers
If you used the Installer, Windows - from XP up to 10 - will install drivers automatically as soon as you connect your board.
If you downloaded and expanded the Zip package or, for some reason, the board wasn't properly recognized, please follow the procedure below.
- Click on the Start Menu, and open up the Control Panel.
- While in the Control Panel, navigate to System and Security. Next, click on System. Once the System window is up, open the Device Manager.
- Look under Ports (COM & LPT). You should see an open port named "Arduino UNO (COMxx)". If there is no COM & LPT section, look under "Other Devices" for "Unknown Device".
- Right click on the "Arduino UNO (COmxx)" port and choose the "Update Driver Software" option.
- Next, choose the "Browse my computer for Driver software" option.
- Finally, navigate to and select the driver file named "arduino.inf", located in the "Drivers" folder of the Arduino Software download (not the "FTDI USB Drivers" sub-directory). If you are using an old version of the IDE (1.0.3 or older), choose the Uno driver file named "Arduino UNO.inf"
- Windows will finish up the driver installation from there.
Open your first sketch
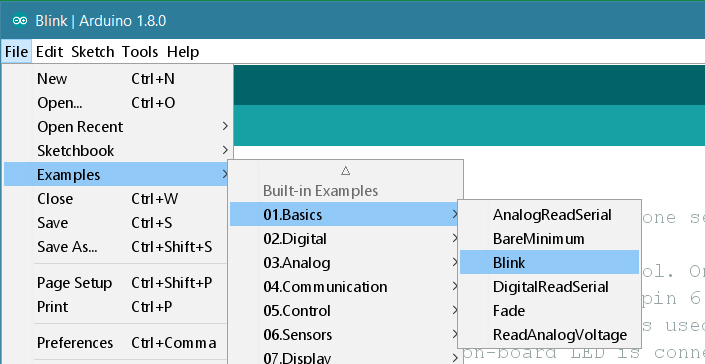
Open the LED blink example sketch: File > Examples >01.Basics > Blink.
Select your board type and port
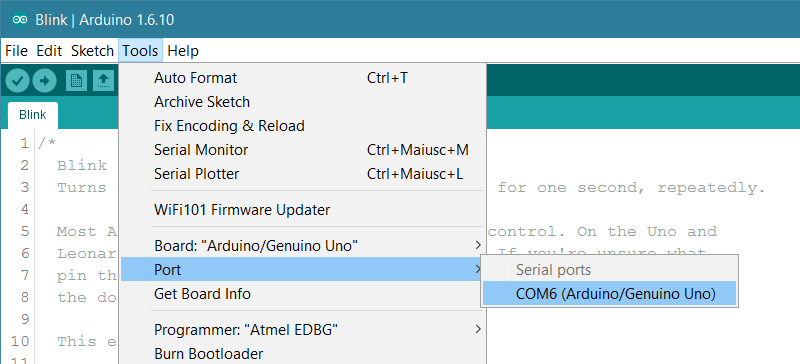
You'll need to select the entry in the Tools > Board menu that corresponds to your Arduino or Genuino board.

Select the serial device of the board from the Tools | Serial Port menu. This is likely to be COM3 or higher (COM1 and COM2 are usually reserved for hardware serial ports). To find out, you can disconnect your board and re-open the menu; the entry that disappears should be the Arduino or Genuino board. Reconnect the board and select that serial port.
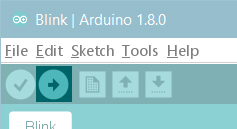
Upload the program
Now, simply click the "Upload" button in the environment. Wait a few seconds - you should see the RX and TX leds on the board flashing. If the upload is successful, the message "Done uploading." will appear in the status bar.
A few seconds after the upload finishes, you should see the pin 13 (L) LED on the board start to blink (in orange). If it does, congratulations! You've gotten Arduino or Genuino up-and-running.